Showing posts with label mother's day. Show all posts

Friday, May 7, 2010


Here in Seattle, we'll take any sun we can get. These little jars will allow me to capture the sun and save it up for the night time!

To make them, I just followed Not Martha's tutorial.

I got my jars from various Goodwills and Value Villages, and used spray glass frost to turn them translucent.

I found solar yard stakes at Walgreen's for $3.50. The ones I found had a detachable head, so all I had to do was pop the head off the stake and glue it to the underside of the jar lid!

I kind of wish my lights were more of a golden yellow like Not Martha's, but the white has it's own eerie beauty too. I'm going to keep my eyes peeled for more jars, and keep making these all summer.

Thursday, May 6, 2010

Another Mother's Day Idea


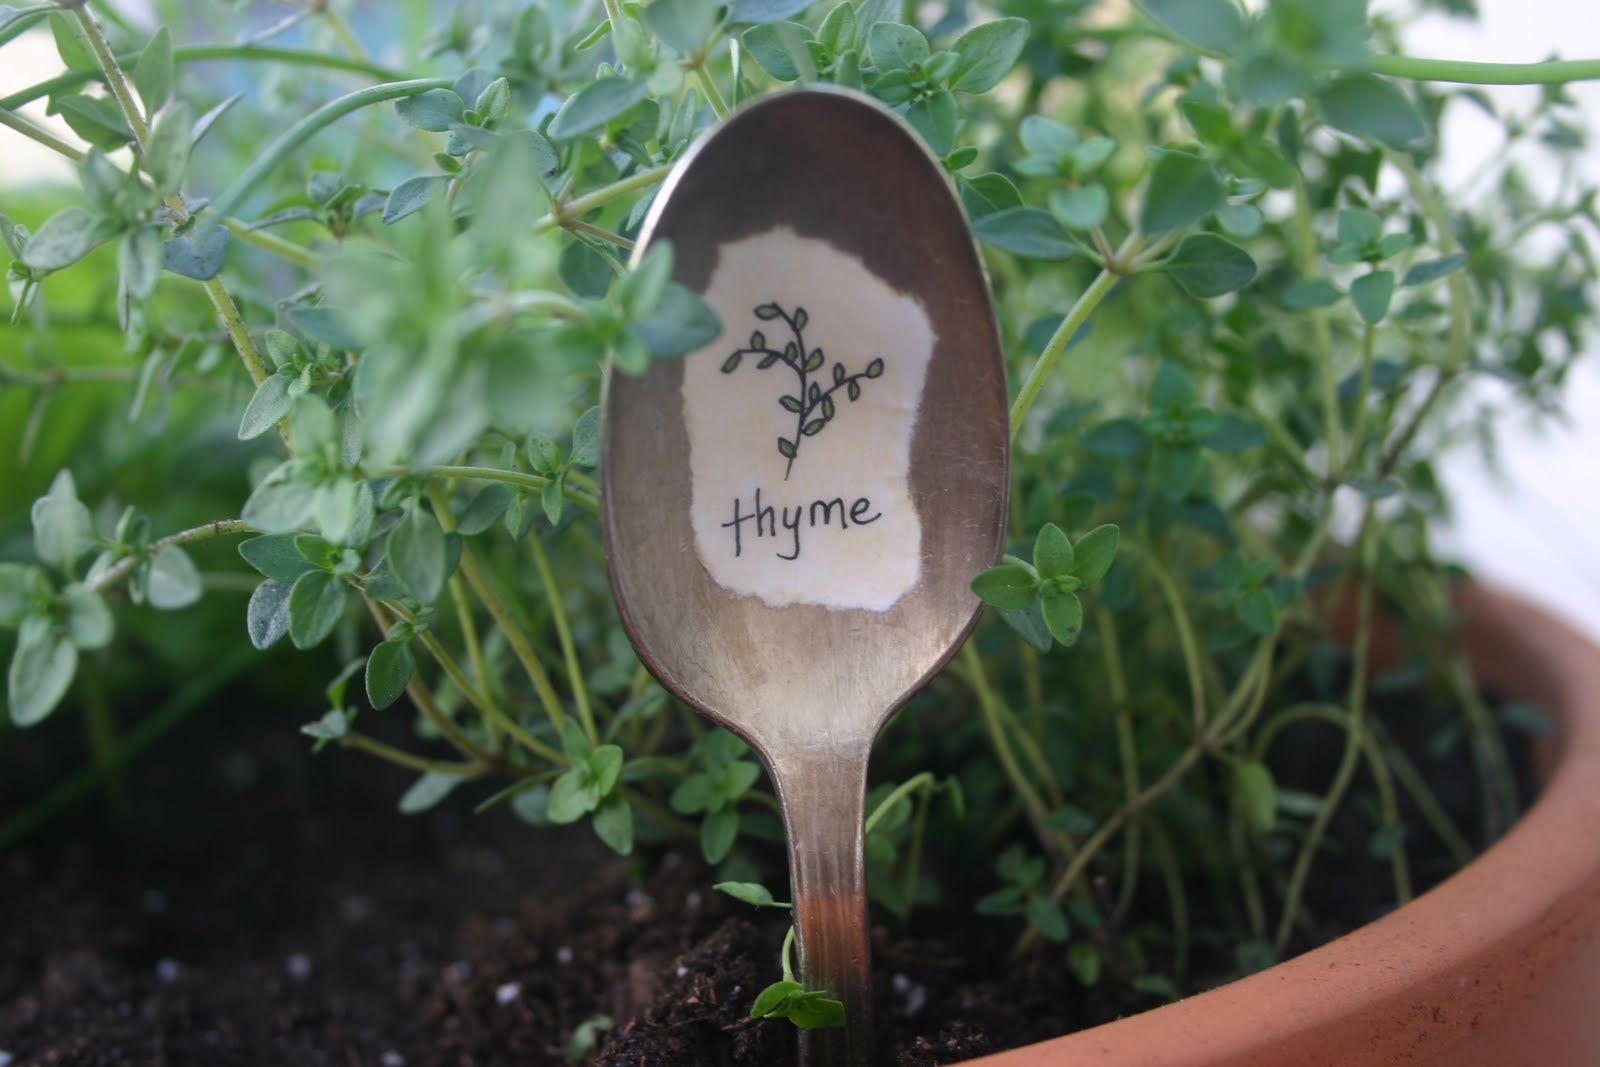
Here's another cute idea for mom... a little herb garden with handmade antique silverware garden signs.

Full disclosure: the garden signs are not my idea! I must have seen them somewhere, somehow online, but I don't have a link for you. I'll show you how I made mine, but if you know who should get credit for this great idea, let me know so I can provide a link!


These are so simple. All you need is white paper, antique spoons (check your thrift store), colored pencils, a black pen, and Mod Podge. Create a simple little sketch on the white paper, using the black pen. Color it in with the colored pencils. Tear the sketch all the way around. Use Mod Podge to glue it to the spoon, then add two more coats of Mod Podge to seal. If you use the outdoor Mod Podge, it will even be waterproof in your garden!


I used the same technique on an antique fork, then bent the tines to create a card holder. This could also be used for photos.

Happy Mother's Day!

Saturday, May 1, 2010

From My Classroom: Mother's Day Gifts


Last week my class made our Mother's Day gifts - little personalized paperclips. I thought I'd share with you, because they were easy, inexpensive, and they turned out darn cute!


All you need is polymer clay (Fimo) and large paperclips. Start by rolling out two small balls of clay, then squish them flat to make two little fat coins. Sandwich the top of your paperclip between these coins. This makes your base.

Then, decorate and personalize to your heart's content! Here are a few ideas my students came up with:


For the mom who loves frying eggs.


Can you guess what this mom does for a living?

If you guessed works for a pharmaceutical company, you were right! ...Yes, that is a little blue pill.


This mom is a dentist. Look at all those bleeding cavities! (Yes, they are supposed to be bleeding cavities, I was assured by the artist)


For the mom who loves to travel the world.

This family has pet rabbits.

Apparently this child's mom is Donnie Darko.


I asked this boy what the little fellow on the right was supposed to be. He just giggled and said, "I have no clue!" Fair enough.


To package our creations, we used cardstock with slits cut in it to create little cards to slip our clips into.
Quick, easy and absolutely adorable. This is a project I highly recommend!!